
How to Install a In-wall Ironing Board
Bulky ironing boards may take up a lot of room in a household. An orderly and clutter-free household frees up a lot of space for other activities. One particular item that occupies a lot of space at any home is the ironing board.
An easy solution to this is to fold a-way and mount your existing floor standing ironing board on the wall using a variety of mounting options available in the market, these cost anywhere from $8 - $40.
However, you need to get the right size one and also one that will properly suit your ironing board’s leg. This can be daunting, cumbersome and there is also the trouble of lifting the ironing board to hang it every time you are done with your ironing.
If you are looking for an option that looks good too and is easier to operate, a sleek and good looking, made to purpose in-wall ironing board is the way to go. The in-wall approach is versatile and works well with most laundry room decor.
If you want help with installing it, you can always get a handyman, but if you want to DIY it, here you will find a detailed explanation on how to install and mount an In wall ironing board. The one we have here is the easiest to mount, DIY wall mounted ironing board we found in the market.
Things you will need: A drill, A screwdriver, A level, A measuring tape, A pen/pencil, Two people
Step 1: Find a load bearing wall where you want to install your Wall hanging ironing board, preferably in your laundry room or your closet. A few tips to consider here are that the wall has to be near a shelf for you to keep your ironed clothes and has to be near a socket to aid in electrifying the iron.
Step 2. Measure the distance between the holes of the frame using a tape or a scale.
If you find using this method tedious, An easier method is to cut a piece of cardboard larger than the frame from the packaging that came with the board itself. Now place the cardboard behind the frame, mark the spots of the holes on the cardboard and this can be used as a stencil.
Step 3. Mark the holes on the wall accurately using the measurements taken on step 2 or using the stencil that you created. Make sure the holes are level using the level measuring device.

Step 4. Drill the hole on the wall at the marked points and insert dowels metal/plastic into them.
Step 5. Ask your helper to place the ironing board’s frame flush with the wall in such a way that the holes in the ironing board align with the holes in the wall. Now screw in the screws using the screwdriver.
Step 6. Apply some pressure on the board to ascertain that you have in fact installed the board properly.
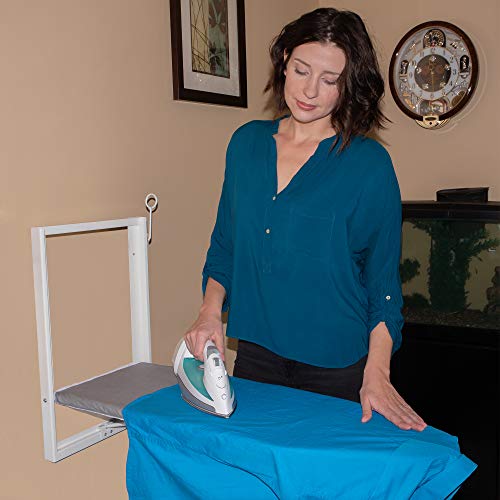
You are done. Have fun with your sleek new wall mount ironing board that will fold down when needed and go flush with the wall when not.
This particular board was the easiest to install and had the sturdiest frame still remaining sleek and thin when folded away. Most suitable for small living spaces like apartments and dorm rooms.
Bonus tip: An easy way to cover the wall mount ironing board is to just use a big framed picture to cover it completely when not in use and nobody will know it’s even there.